


Massage Ball: How to Choose the Right One for Better Recovery
Have you just finished an intense weight-training session or a grueling workout on the track, and can you already feel the stiffness setting in? For any serious athlete, training doesn’t end with the last rep. Real progress comes down to how you care for your body after a workout. That’s where the massage ball comes in—a compact yet powerful tool that has become the cornerstone of modern muscle recovery. Far more precise than traditional stretching, it lets you target tension wherever it’s hiding, restoring your mobility and boosting your performance.
Contrary to popular belief, recovery isn’t a passive process. Taking care of your body requires direct intervention on the tissues that have been worked. At GladiatorFit.ch, we know that every detail counts when it comes to excelling in your sport. That’s why we’ve designed this guide with a strong focus on athletic performance. Forget about simple relaxation massages: we’ll teach you how to use this tool like a true mechanic of the human body, to relieve muscle tension and come back stronger for your next workout.
Why use a massage ball for recovery?
If you’re used to lifting heavy weights or performing high-intensity functional movements in succession, your body experiences micro-tears and accumulates mechanical stress. Self-massage is therefore not a luxury—it’s a physiological necessity for maintaining the integrity of your musculoskeletal system.
Releasing fascia and trigger points
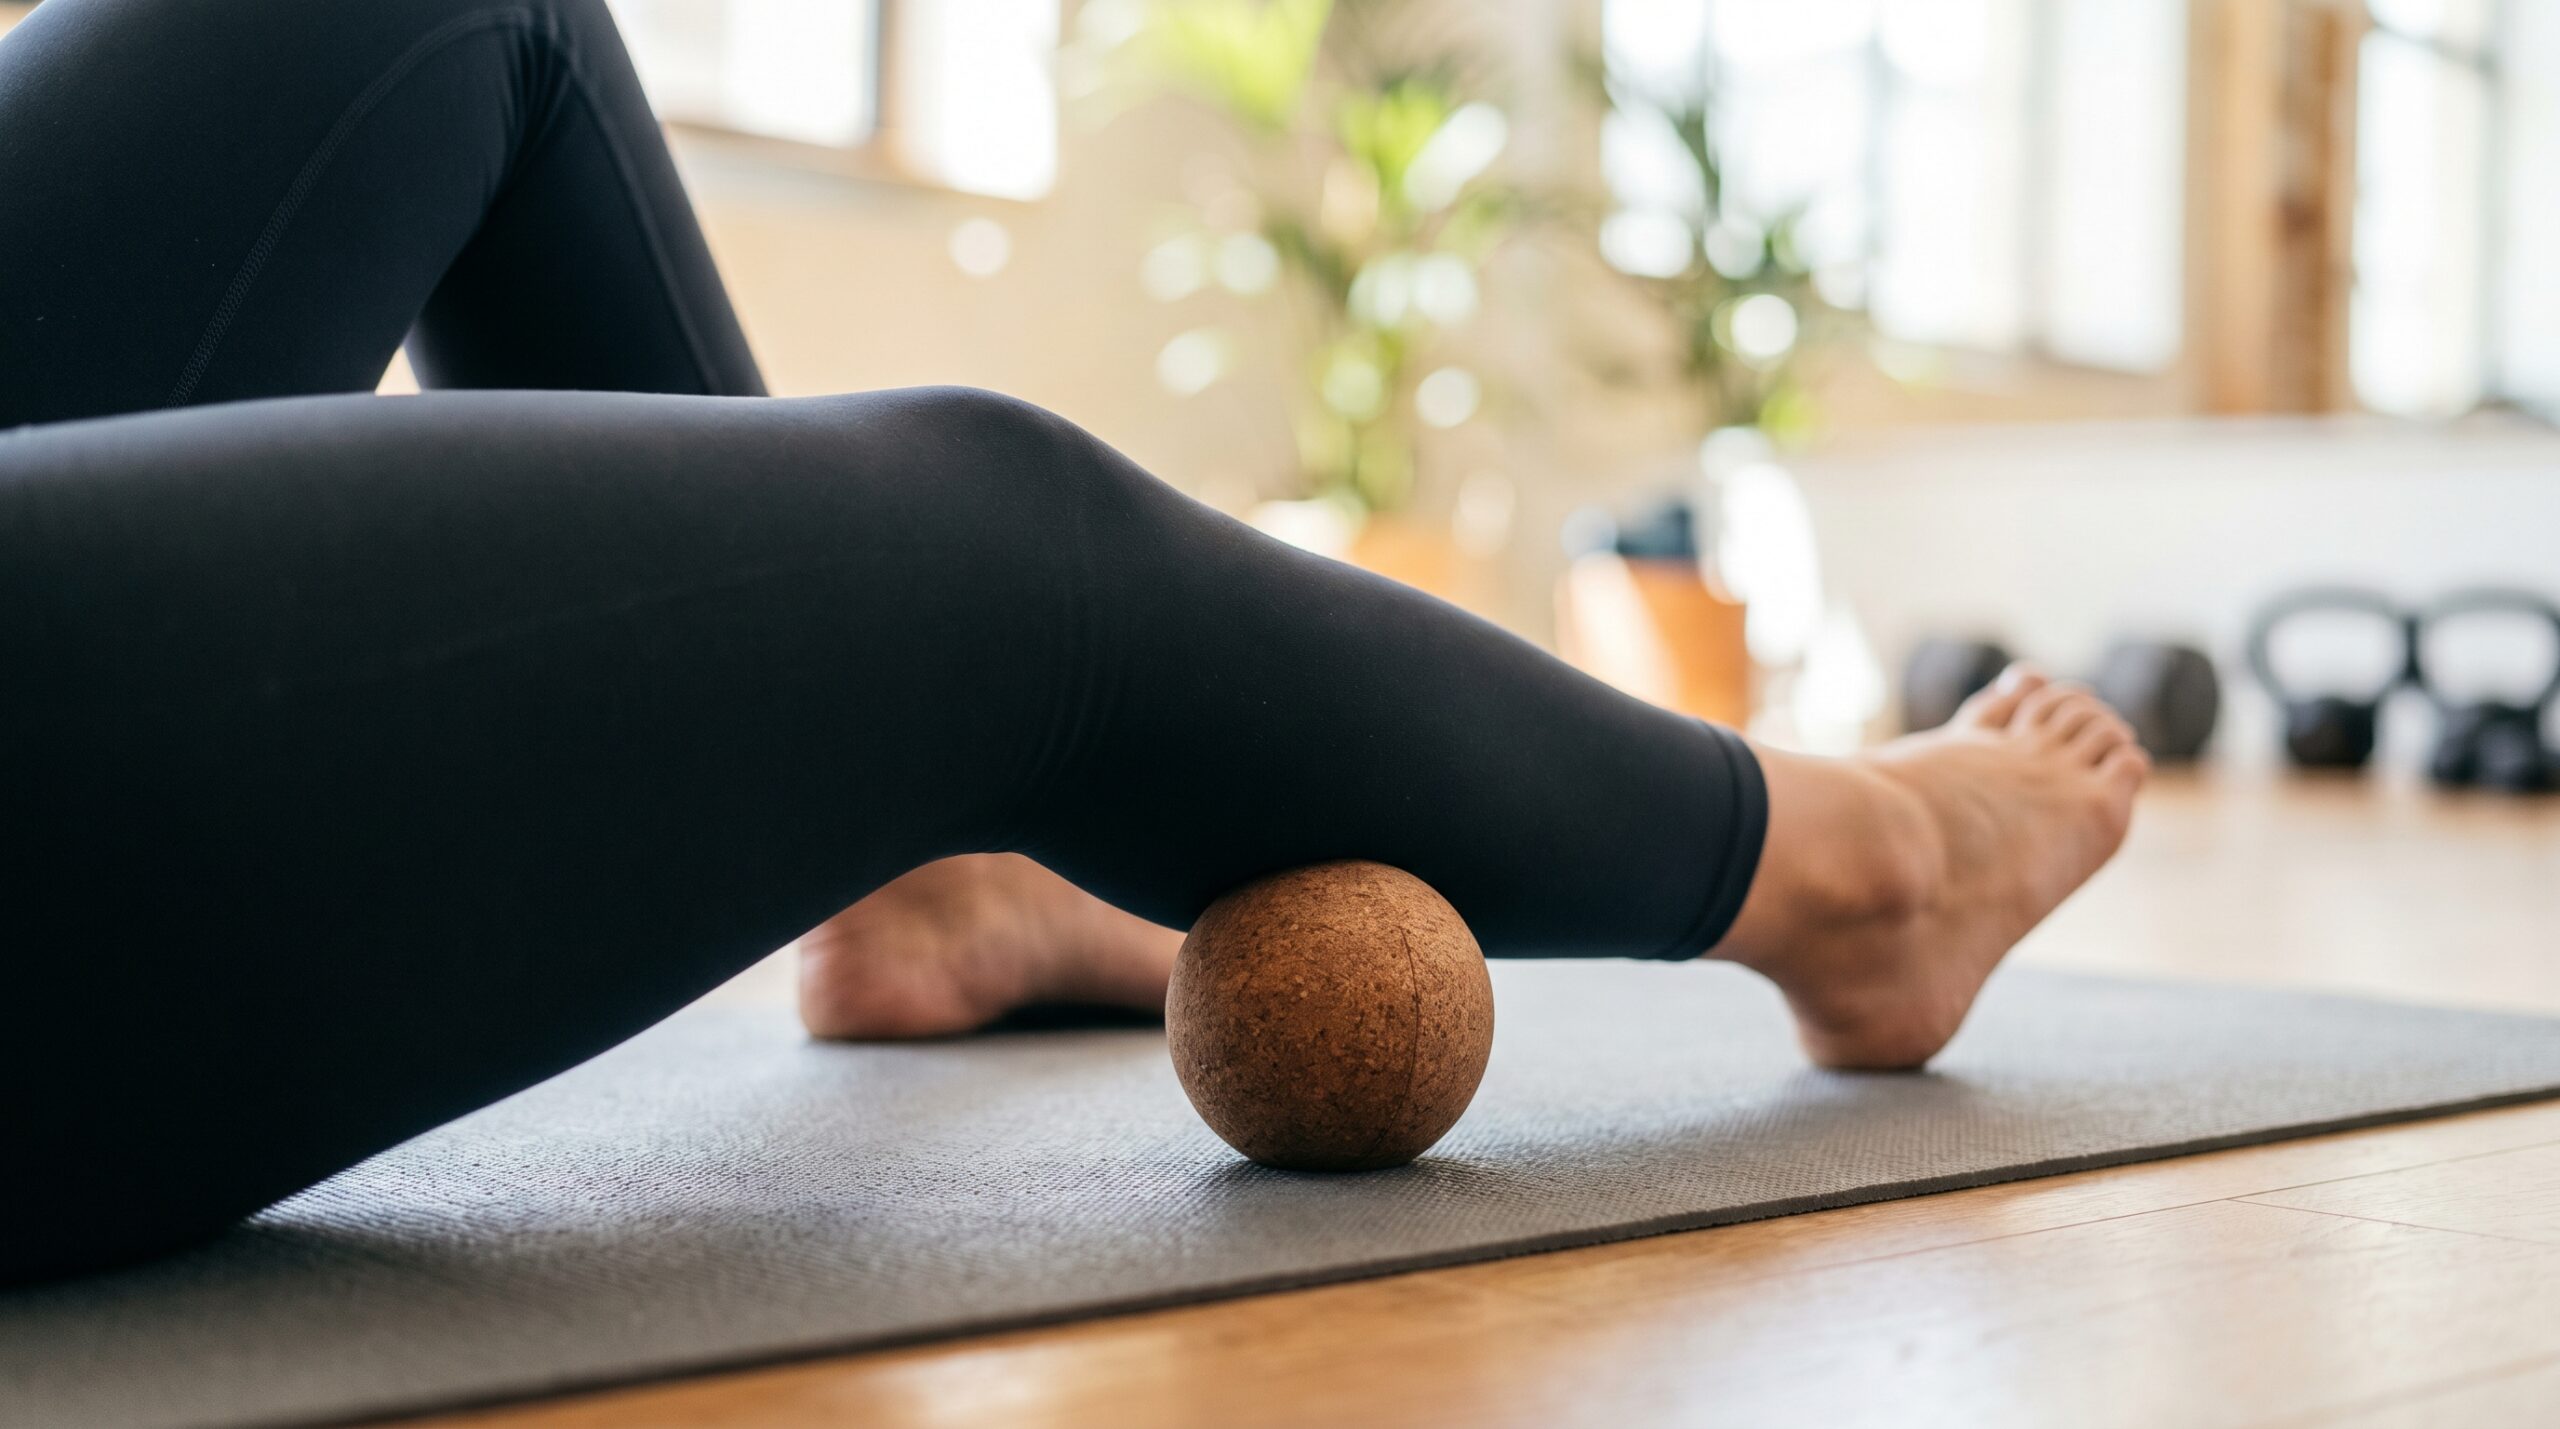
To understand the benefits of this accessory, you first need to look at anatomy. Your muscles are enveloped by a network of connective tissues called fascia. As a result of exercise, fatigue, or even poor posture, these fascias can stiffen and become adhered to one another. Myofascial release involves applying targeted pressure to restore elasticity to this layer.
At the center of these areas of tension, what are known as trigger points—or muscle knots—often form. These are small areas of chronically contracted muscle fibers that restrict your range of motion and can even cause pain to radiate to other parts of the body. Using a firm ball applies ischemic pressure to these specific points. Releasing this pressure creates a massive influx of fresh blood. This boost in blood circulation helps flush out metabolic waste accumulated during exercise and reoxygenate deep tissues with nutrients essential for repair.
Optimizing Your Recovery After Cross-Training
Cross-training is inherently asymmetrical and places extreme demands on the nervous and muscular systems. Movements such as pull-ups, clean and jerks, or burpees engage very dense and complex muscle groups (such as the trapezius, rhomboids, and glutes). Static stretching isn’t always enough to relieve the tension points created by these explosive movements.
Incorporating five to ten minutes of targeted self-massage at the end of your workout or on your active rest days will make a huge difference. Unlike a traditional massage roller, which works on large areas, the spherical design allows for much deeper and more precise tissue penetration. You’ll be able to target tendon attachments, prevent stiffness that leads to joint pain, and, most importantly, restore your joints’ full range of motion so it doesn’t hinder your form during your next workouts.
How to Choose the Right Self-Massage Ball?
Given the wide variety of equipment available, it’s crucial to choose the tool that best suits your specific needs, your tolerance for pressure, and the areas you want to target. In our store, we offer several options designed for specific applications.
Smooth ball or spiked ball?
Texture plays a major role in the treatment’s effectiveness:
- The smooth ball: It is designed to glide smoothly over the fascia. It is the tool of choice for deep tissue work. It allows you to apply firm, continuous pressure to a muscle knot without irritating the skin. It is the ultimate versatile model for experienced athletes.
- The spiky ball: Its small protrusions aren’t just for looks. They act like dozens of tiny fingers that actively stimulate the superficial nerve endings. The spiky ball is exceptional for stimulating blood circulation, desensitizing a painful area, or preparing the muscles just before exercise (during a warm-up). It is particularly effective when used under the arch of the foot or on the forearms.
Materials: eco-friendly cork or solid rubber
The density of the tool determines the intensity of the pressure. A ball that’s too soft will deform under your weight and won’t reach the deep fascia. Conversely, an ultra-rigid material may be too painful for a beginner.
At GladiatorFit, we’re big fans of cork. Choosing a cork ball means opting for equipment that is eco-friendly, lightweight, and incredibly firm. Cork offers excellent natural grip (it doesn’t slip on the floor or wall) and never loses its form, even under the weight of a heavy athlete. Solid rubber, on the other hand, offers greater weight and a slightly sticky texture that “grips” the skin well during tissue twists.
Single ball or double ball for the back?
While the simple spherical form is ideal for the pectorals, glutes, or calves, it has its limitations when it comes to the spine. In fact, you should never apply firm pressure directly to the vertebrae.
This is where the peanut ball (also known as a double ball) comes in. Its unique form—consisting of two spheres connected by a curved center—allows it to safely follow the contour of the spine. The two balls provide an intense massage to the erector spinae muscles on either side of the spine, while the central indentation protects your vertebrae from any pressure. It’s the ultimate solution for lower back pain and upper back stiffness after deadlifts.
Targeted exercises with a massage ball
Having the right equipment is one thing; knowing how to use it is another. Self-massage requires a specific technique. The golden rule: the movement should be slow. When you come across a tender spot, don’t shy away from the pain. Pause on that area, take a deep breath, and let your body weight melt away the tension. Here are three essential routines for athletes.
Massage the arch of the foot
The arch of the foot is the starting point of the posterior chain. Tense feet can cause pain all the way up to the neck. This exercise is ideal for runners or after a workout that includes a lot of jumping rope.
- Stand up, ideally barefoot on a hard floor.
- Place the ball (a spiky ball works great here) under the sole of your right foot.
- Gradually shift your body weight onto that foot to adjust the pressure according to your tolerance.
- Slowly roll the ball of your foot from your heel to the base of your toes. Take about 5 seconds for one round trip.
- When you find a particularly tender spot (often near the heel or in the center of the arch), maintain steady pressure for 30 to 45 seconds while breathing calmly.
- Repeat the exercise for 2 minutes, then switch feet.
Stretching the glutes and lower back
The gluteal muscles are the primary drivers of squats and snatches. They endure a great deal of stress and develop deep knots (particularly in the piriformis muscle), which can cause sciatica or lower back pain. For this floor exercise, we recommend using a GladiatorFit yoga mat to ensure joint comfort and prevent the ball from slipping.
- Sit on the floor with your knees bent and your feet flat on the ground in front of you.
- Place a single ball under your right buttock, in the center of the muscle mass (keep your hands on the floor behind you to support your weight).
- Cross your right ankle over your left knee to open up your hip and engage the deep rotator muscles.
- Use your hands and your left foot to massage the area in very small circles.
- Hold the pressure on the major tension points for at least 60 seconds.
Relieve Neck and Shoulder Tension
Shoulders that are overworked eventually round forward, creating intense tension in the trapezius and rhomboid muscles. Working against a wall allows you to better control the pressure than if you were lying on the floor.
- Stand with your back to a wall, your feet shoulder-width apart and slightly forward.
- Tuck a ball (a regular ball or a peanut-sized one) between the wall and the top of your back, between your shoulder blade and your spine.
- Slowly bend and straighten your knees to roll the tool up and down along the muscle.
- To enhance myofascial release, move your arm (on the side being massaged) up and down or cross it in front of your chest while maintaining pressure on the trigger point.
- Work on that area for about 2 minutes before moving on to the other shoulder blade.
Frequently Asked Questions About the Massage Ball
What are the benefits of a massage ball?
Regular use of this accessory helps release deep muscle tension, relieve trigger points, and improve fascial flexibility. It significantly stimulates local blood circulation, which accelerates the removal of post-workout toxins and increases oxygen supply. The result: improved range of motion, a significant reduction in muscle soreness, and effective prevention of injuries and joint pain.
How do you use massage balls?
Use your own body weight (against a wall or on the floor) to apply pressure to the targeted muscle. Slowly roll the ball over the area until you find a particularly sensitive spot of tension. Once you’ve found the knot, stop the movement and maintain steady pressure (for 30 to 60 seconds) while breathing deeply. You should feel a sensation of “good pain” that gradually subsides as the muscle relaxes.
Why roll a ball under your foot?
Rolling a firm or spiked roller under the arch of the foot helps relax the plantar fascia, a thick fibrous membrane that is heavily stressed during jumping, running, or weightlifting. This specific massage helps prevent plantar fasciitis, stimulates the foot’s proprioceptive sensors for improved stability, and has a relaxing ripple effect throughout the entire posterior body, including the calves and hamstrings.
How do you use a massage ball for your glutes?
For your glutes, sit on the floor on a mat and place the ball under one of your buttocks. Support your weight with your arms behind you and cross the leg on the side being massaged over the opposite knee. Make small circular movements to locate tight deep tissues (often the piriformis muscle). Once you’ve located the knot, let your pelvis rest on it for one minute. This targeted approach is much more precise and effective than using a simple massage roller.
Still have a few questions before incorporating this tool into your routine? Here are expert answers to the most frequently asked questions to help you maximize your muscle recovery.
Discover our selection of sports equipment
Find all the equipment you need to reach your goals on GladiatorFit.ch

Other articles

Newsletter
Receive our fitness tips and exclusive offers


